Note: I am not a professional and do not claim to be an expert. Please be sure to always read instructions for all tools and products. Safety is very important and should be your top priority. Wear necessary protection when using tools (eye wear, hearing protection, gloves, etc.) and dust masks when sanding or cutting. Sarah Flips It is not responsible for any injury or damage. All of my designs are not professionally designed and are for private use only.
If you’ve ever wanted extra seating and hidden storage, DIY bench built-ins with lift-top lids are the perfect project! They’re functional, stylish, and surprisingly doable—even if you’re a beginner.
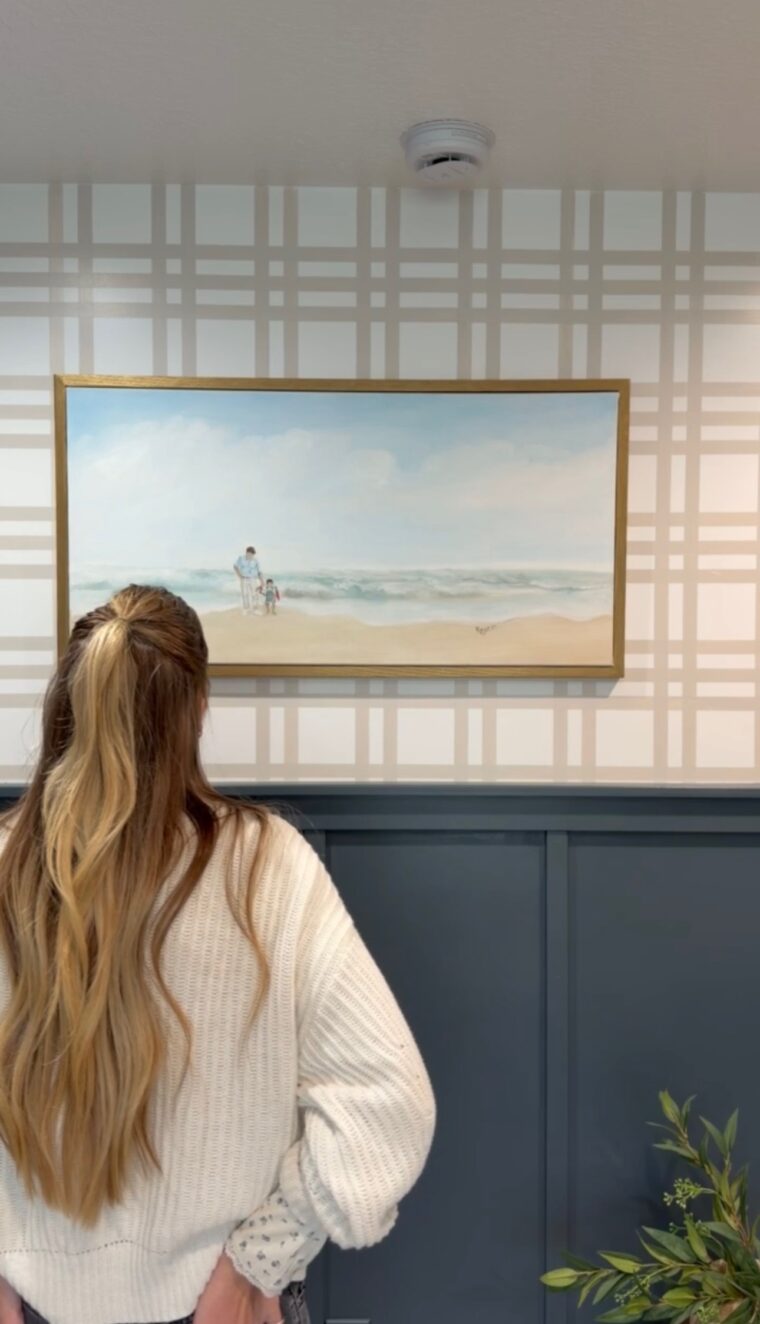
I’d been dreaming about this cozy corner nook before we moved into this house five years ago. I pictured my whole family gathered around a table eating, playing games, and just enjoying each other. Add in my never-ending need for blanket and pillow storage, and this project became the perfect solution for all the things!
In this tutorial, I’ll walk you through exactly how to build DIY bench built-ins with lift-top lids, from planning and framing all the way to trim and paint. Let’s get started!
Supplies for DIY BENCH BUILT-INS
Tools:
- Power drill
- Laser level
- Stud finder
- Measuring tape
- Corner clamps
- Brad nailer
- Miter saw
- Circular saw
- Circular saw guide
Materials:
- 2x4s
- 1/4″ plywood
- 3/4″ plywood
- 2″ foam
- MDF
- Brad nails
- Wood filler
- Construction screws
- Primer
- Furniture paint
How to CREATE DIY BENCH BUILT-INS
Step 1: Plan and Tape Out Your Bench Layout
Before you touch any tools, start with planning. Decide on the size and shape of your bench nook based on your space and how many people you want it to seat.
For my corner nook, I taped out 5 feet on one wall and 6 feet on the other, creating an L-shape that fits our family while still keeping the room open. I chose a seat height and depth of 18 inches, which feels comfortable and proportional, but you can absolutely adjust this to fit your space.
Pro tip: Taping out the footprint on the floor is a game changer. It helps you visualize the bench size and make sure everything feels right before committing.
Once you’re happy with the layout, you’re ready to build.

Step 2: Cut the Framing Pieces & Supports
The frame is the most important part of any DIY bench built-in. It needs to be sturdy and weight-bearing—strong enough to support multiple adults (or, in my case, four energetic kids.)
Using a miter saw, cut your 2x4s for:
- Bench length and depth
- Bench height
- Interior support pieces
Build the Interior Brace Supports
Cut four equal pieces of 2×4 for each support and assemble them into square frames using corner clamps and a brad nailer. These supports should match your bench height (mine were 18 inches tall.) I used a brace support approximately every 2 feet of my bench.
These internal braces help distribute weight evenly and keep the bench solid over time.

Step 3: Assemble & Install the Bench Frame
Now it’s time to bring the frame together.
- Secure the back framing
Drill the back 2x4s directly into wall studs using a stud finder. A laser level is super helpful here to keep everything straight.
Add vertical 2×4 supports underneath the back pieces for extra strength. - Install the side bench framing
Repeat the process for the side bench, again anchoring everything into wall studs. - Attach the front framing
Pre-assemble the front pieces, then drill them into the side frames.
Where the two bench fronts meet at the corner, drill them into each other to lock the corner in place. - Add the interior supports
Place the square brace supports inside the frame about every 2 feet, drilling them into both the front and back framing.
At this point, your bench frame should feel rock solid.
Step 4: Cover the Bench & Build the Lift-Top Lids
This is where your DIY bench built-ins really start to look like furniture instead of framing.
Measure and Cut the Panels
Measure the exact dimensions of your bench and cut:
- Two long panels for the front
- Two shorter panels for the side
I used ¼-inch plywood for the vertical faces, but MDF works well too. I cut mine using a circular saw with a jig guide and 2-inch foam underneath for support. Attach the panels with a brad nailer, keeping everything flush and straight.
Build the Bench Tops
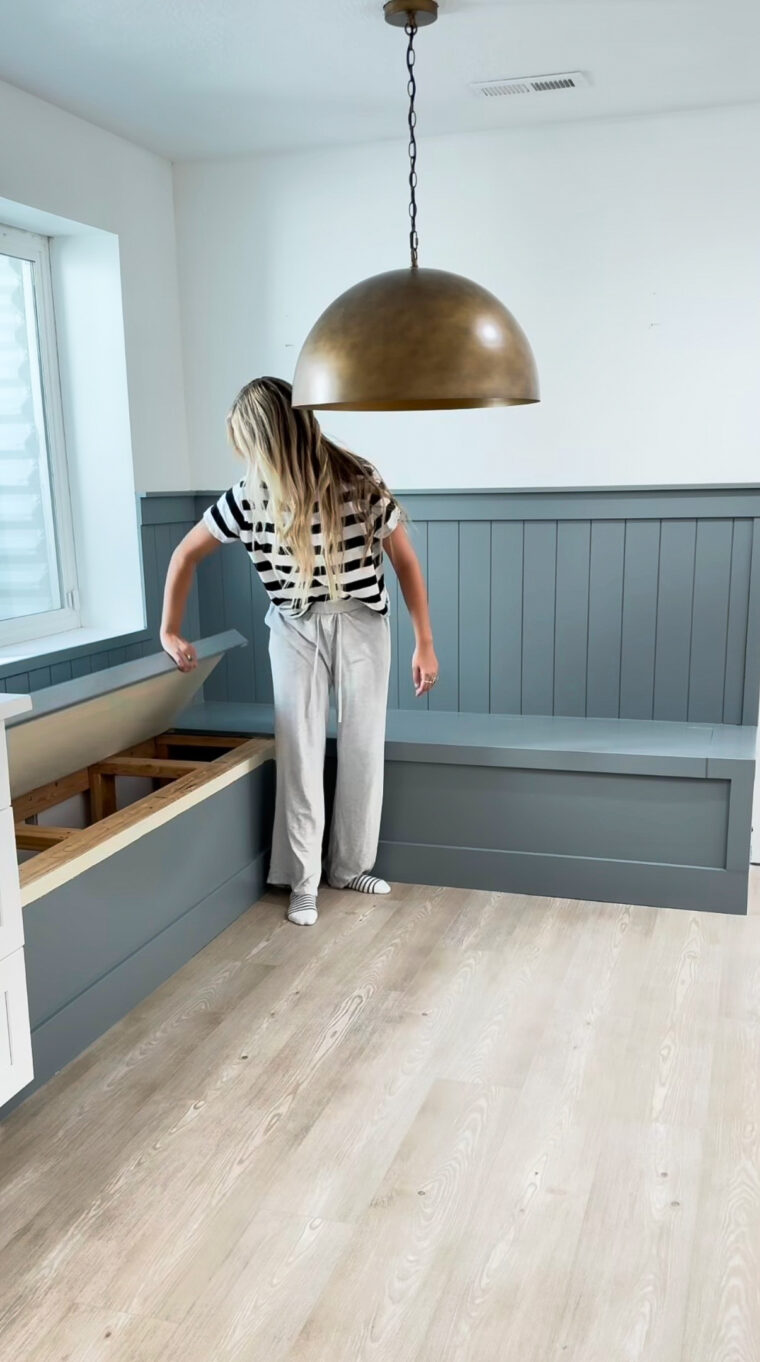
To create the lift-top lids:
- Cut one large piece of ¾-inch plywood for each opening lid
- Cut a long, narrow strip that sits against the wall
- Cut a square piece for the the inside corner where the two benches meet
That narrow strip stays fixed and creates the clearance needed for the lid to open—if the lid goes all the way to the wall, the hinges won’t work properly.
In the inside corner where the two benches meet, create a solid square section that does not open. This keeps the corner strong and simplifies the build.
Attach the hinges to the lift-top lids. If you’re unsure about placement, think of it like a door—bench lids open in a very similar way.
Step 5: TRIM EVERYTHING OUT
Trim is what takes DIY bench built-ins from “basic” to custom built-in!
On the front edge of the bench top, I added MDF trim that slightly sticks out to act as a built-in handle for opening the lids. I secured it using 1.5-inch brad nails with my nail gun.
This small detail makes a big difference both visually and functionally.
Step 6: ADD SHIPLAP WALL DETAIL
To really sell the built-in feel, I added wall detail behind the bench.
- I installed baseboards along the bottom to match the rest of the room
- I used shiplap panels to create a board-and-batten look on the wall
The shiplap panels I used were 4’x8’ sheets from Home Depot. I cut them to my desired height (totally personal preference) using the same method as the plywood. On top, I added MDF trim and nailed everything into wall studs for a secure finish.
Step 7: WOOD FILLER & PAINT
For the final step, use wood filler to fill in any holes and paint everything using a paint + primer combo. I used Behr furniture paint in Blue Dusk.
Apply even coats and let the paint fully cure before using the bench. Once dry, your DIY bench built-ins with lift-top lids are ready for seating, storage, and serious compliments!
Final Thoughts
These DIY bench built-ins added so much function and charm to our space—and the hidden storage is a total game changer. Whether you’re a beginner DIYer or have a few projects under your belt, this is a build you can absolutely tackle with a little planning and patience.
I finished our kitchen nook look by decorating with these beautiful pieces from Home Depot. You can click here for the full collection!