

Note: I am not a professional and do not claim to be an expert. Please be sure to always read instructions for all tools and products. Safety is very important and should be your top priority. Wear necessary protection when using tools (eye wear, hearing protection, gloves, etc.) and dust masks when sanding or cutting. Sarah Flips It is not responsible for any injury or damage. All of my designs are not professionally designed and are for private use only.
If your kids are anything like mine, football season is a BIG deal around here. My boys are 7 and 5, and they are completely obsessed with allllll things football. I thought it would be fun to make them a football-themed activity they could play with—and this DIY football magnet board turned out even cuter than I imagined!
It’s basically a mini football field that doubles as wall decor. The magnetic football players can be moved around the field, so the kids can create their own plays, make up games, or just move the players around while they watch a real game.
And because I put the whole thing inside an IKEA frame, it looks cute enough to hang right on their bedroom wall when they aren’t playing with it.
Here’s how I made it!
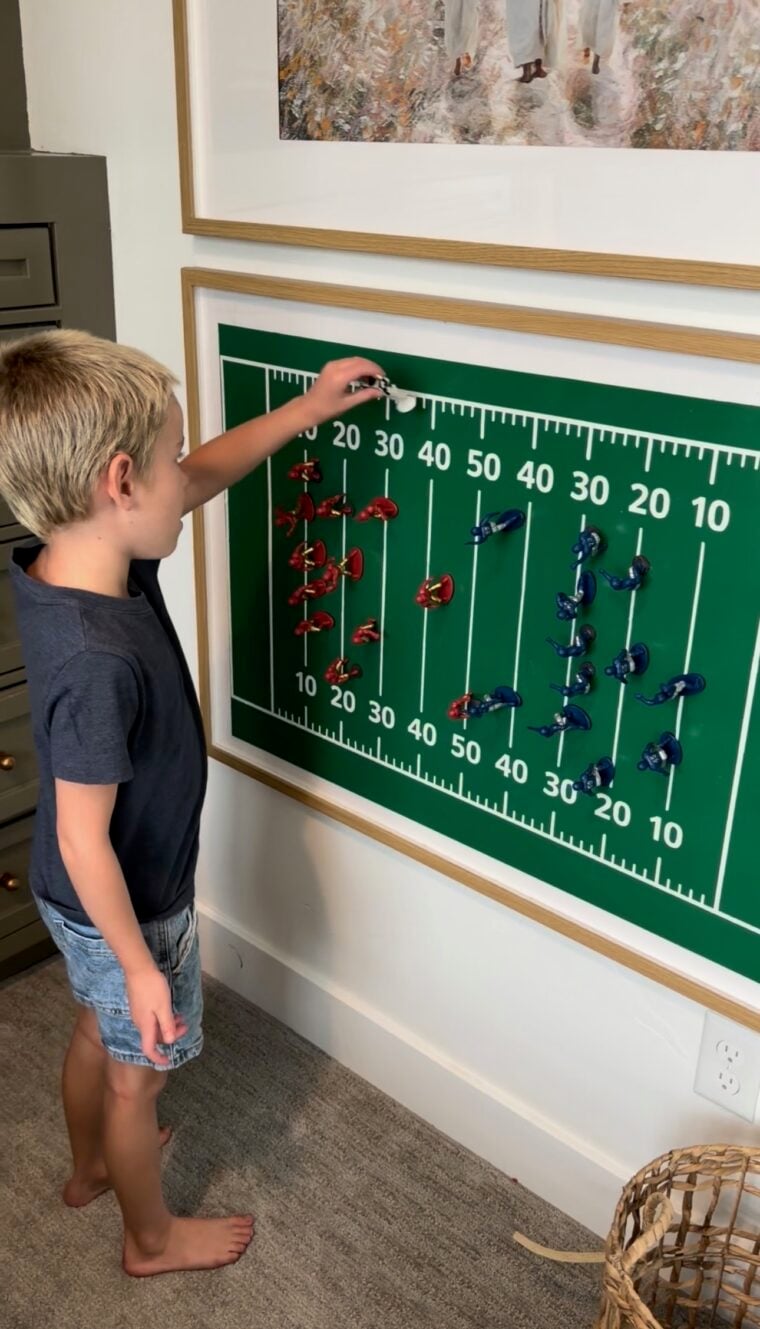
Table of Contents
Supplies for DIY FOOTBALL MAGNET BOARD
MATERIALS:
Step 1: Paint the Metal Sheet
I started with a 36 x 24-inch steel metal sheet, which becomes the magnetic surface for the football field.
I spray painted the entire sheet with green Rust-Oleum spray paint to give it the look of a football field.
Once the paint was dry, I covered it with a clear clay glaze to give the surface a finished look and help protect the paint.
Make sure your paint and glaze are completely dry before moving on to the next step.
STEP 2: Create the Football Field Design
Next, I created the football field markings in Canva. I made the design to fit the size of my metal sheet. You can create your own design from scratch, or you can use the design I made here:
I love using Canva for projects like this because you can easily customize the size and design to fit whatever surface you’re using.
Step 3: Cut the football field lines With A Cricut
Once my football field design was ready, I imported it into Cricut Design Space and used my Cricut Joy Xtra to cut the field markings out of white vinyl.
Once everything was cut, I carefully weeded the excess vinyl and applied the white vinyl pieces to the green metal sheet.
Take your time with this step! The field lines don’t have to be absolutely perfect, but lining everything up carefully will make the finished board look much more like a real football field.
Step 4: Make the Football Players Magnetic
Now for the fun part! I used little plastic football player figures for the players on the field. To turn them into magnetic football players, I attached adhesive craft magnets to the backs of the figures. The ones I bought are sticky on one side, but I added hot glue to attach them more firmly to the football figures.
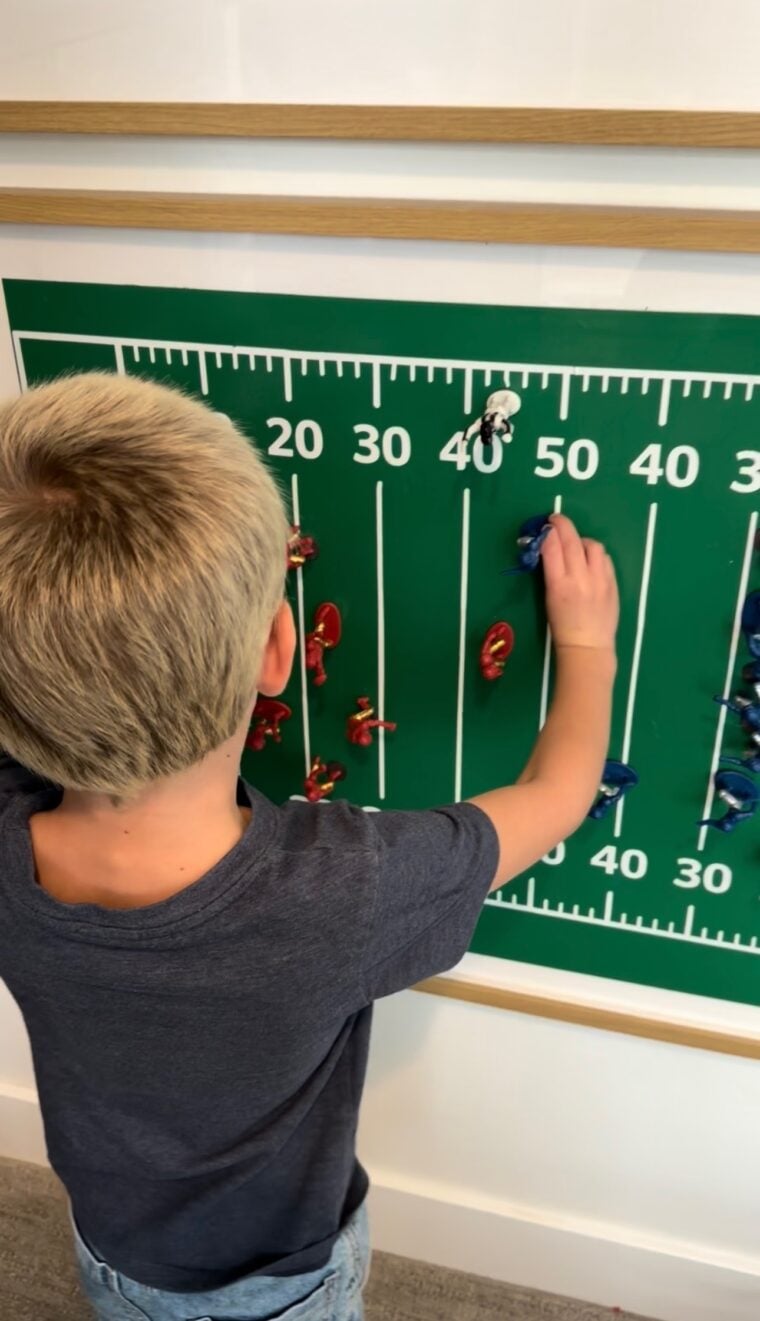
Once the magnets were secured, the football players could stick right to the metal football field and be moved around.
This is what makes the board so fun for kids—they can arrange the players however they want and create their own football plays!
Step 5: FRAME YOUR DIY FOOTBALL MAGNET BOARD
Now it was time to put everything into the frame.
I used carpet tape to attach the painted metal sheet directly to the front of the frame. The metal sheet sits right on top of the frame rather than behind the frame.
This was an important part of the design because I wanted the magnets to have direct contact with the metal. If I placed the metal behind the frame, the frame would create a gap between the magnets and the metal and make the magnets less effective.
Once the metal sheet was securely attached to the front of the frame, I was ready to hang it up and let the boys play!
I love that the frame gives the football magnet board a finished, polished look while still keeping it completely functional.
Ways to Customize Your DIY Backdrop
One of my favorite things about this project is how easy it is to customize! Here are a few ideas to make your football magnet board your own:
- Use team colors: Paint the field in your child’s favorite team colors instead of traditional green.
- Add their name: Use your Cricut to add your child’s name or jersey number to the board.
- Add a scoreboard: Use vinyl to add a simple scoreboard to the top of the field.
- Try a different sport: This same idea could easily be turned into a soccer, baseball, basketball, or hockey magnet board! Just change the field design and use magnetic players or pieces that fit the sport.
You could even make different versions for each of your kids based on their favorite sports. How fun would a whole collection of magnetic sports boards be?!
FINal thoughts
And that’s it! This DIY football magnet board was such a fun project to make for my boys, and I love that it doubles as football wall decor when they aren’t playing with it.
Plus, because the design is so simple, you can easily customize this project for your own kids, their favorite team, or even a completely different sport.
If you have a little sports fan at home, I think they would have so much fun with their own magnetic game board!


